Thursday, October 24, 2013

On the Design Wall - Echos of the Past

I saw a quilt made with this pattern at a quilt show and I knew I just had to make this one.  With the scrappy batiks and bright colors and gorgeous quilting, it just shines.  I have a recipient in mind, so I can't wait to see this one emerge from the pile of fabrics.

The pattern's website doesn't show such bright colors, but you can find it here at Elizabeth Anne Designs.  I'm guessing this one is radiant in good lighting.
http://www.elizabethanne.cc/sc_images/products/392_large_image.jpg
Elizabeth Anne's designs - Echos of the Past


I started by spreading batiks all over my sewing room.  Then I chose the 12 fabrics that I'll use behind the large block centers.  To get started, I made a few of the pieced blocks, but not all of them.

Horse block

Kokopelli Block

Although I'd love to have this one finished as a Christmas gift, I'd rather enjoy the process.  At this point, I don't think it will be ready in 2 months.  So, I'll relax a little bit.  There's a quilt retreat next weekend, which will be a fun time to work on it while I visit with friends.

All 12 "blocks" ... in progress


I've already learned that I like piecing much more than fusible applique.  This time, I'm trying Misty Fuse since it's extremely lightweight.  I am using a satin stitch for the applique with contrasting threads.  Most of these pieces still need the satin stitch.


 For the retreat, I made this 3 ft by 4 ft portable design wall using a 2 fold cardboard display stand, basting spray, batting and some tape.  I already had all the supplies, except for the cardboard which was less than $3 with a coupon.  That basting spray on cardboard and batting doesn't allow repositioning, so I get to live with a few wrinkles.  I think it will come in handy for this project at the retreat.


Yesterday, with a sick teen at home, I worked a little on tracing and ironing the fusible parts as I watched my quilting buddies.  There were seven of them grazing quietly before the buck arrived.  No one held still for my photo shoot!  I couldn't even count his points.

High tailing to the treeline.

Today, both teens and I visited their doctor.  The whole marching band (247 members) is sharing viral and bacterial infections.  We'll do our best to overcome with rest, fluids and some meds while preparing for another football game and competition this weekend.  Rest and band practices do not mix well.

Enjoy your day!
- SeeingStars

Wednesday, October 16, 2013

Another Vintage Find

Dial & Sew 752
I bought this one with plans to gift to a friend in need.  It's almost ready now.  When I purchased this little beauty, the inside moving parts were really clean, but they needed oil.  I removed the cabinet hinges after I took this photo.  The light coat of car wax makes this one shine.

Mr. SeeingStars helped me with this one too.  The cord was too short to use as a foot pedal and wouldn't reach the floor.  I didn't think my friend would want to keep it in a cabinet with a knee pedal, so we rewired it with a longer cord.  A trip to the electronics store cost us less than a dollar to pick up a few replacement connectors.

It's working well now, except for a missing light bulb.  I think I'll take it with me to a sewing shop to see if I can find one that will fit.  I tested the light's wiring by plugging the motor into the light plug.  Works just fine, but I wouldn't want to do that permanently.  There's no speed control that way.  Yikes!

This machine was made in Japan and was badged with several different brand names.  From other blogs and a yahoo group, I've seen it listed as a Necchi 750, a Tacony 752 and a Dressmaker Mark II.  This one's badge says Dial & Sew and it's a model 752.

Things I like about this machine :
1.  The color!  I love the light aqua with the white and chrome plate.

2.  The simplicity.  Since this didn't come with a user's manual and I don't plan to purchase one online which would almost double the cost of my purchase, it's nice to see that this one just does the basics and does them well.  Many of the more generic zigzag online manuals cover the operation.

3.  No hesitation.  When I press the pedal, there's no hum first.  No need to get the hand wheel going a little bit.  This motor is ready to stitch.

4.  No extra cams.  The zig-zag and it's few decorative stitches are built-in.  That means none of these will get lost.

Decorative Stitches


When making a straight stitch, the needle goes to the left position.  I'm not sure why this is the design since my other machines allow the user to choose a left-middle-right needle position.  However, I think this will work well for quilting seams, so there's no worries.

Also, this bobbin is an end loader, like my Necchi.  That also dictates that the eye of the needle goes left to right, rather than front to back.  For me, this is much more challenging to thread the needle.  Now I see why there are so many gizmos on the market to assist with needle threading.

So for now, I'm going to resist the urge to collect and fix up vintage machines, but I must say that it's fascinating to see how well made these beauties are and there's a thrill to getting them purring again.  I've had a plan for each of the ones I've purchased so far to be gifted, so I'm not just accumulating them. 

Enjoy your day!
- SeeingStars


Tuesday, October 15, 2013

My Vintage Italian Necchi

This little machine was sold locally on Craig's List.  It's a Supernova Automatica, made around 1955 in Italy.  The cabinet was an original, but suffered tornado damage 2 years ago and was too much for me to try to repair.  Instead, I found an old cabinet, also on Craig's List that someone started to convert to an ice bucket.  They stopped mid-project after painting it this delightful Carribean Blue and got rid of it.


So it's been a work in progress for me.  It's not quite perfect now, but getting closer.  I cleaned the machine inside and out and oiled it until every moving part works beautifully.  I've even tried the decorative stitching using the cams and it's been amazing to see those stitches.  However, the feed dogs were broken and I've felt that I should replace them before sewing on this machine more regularly.

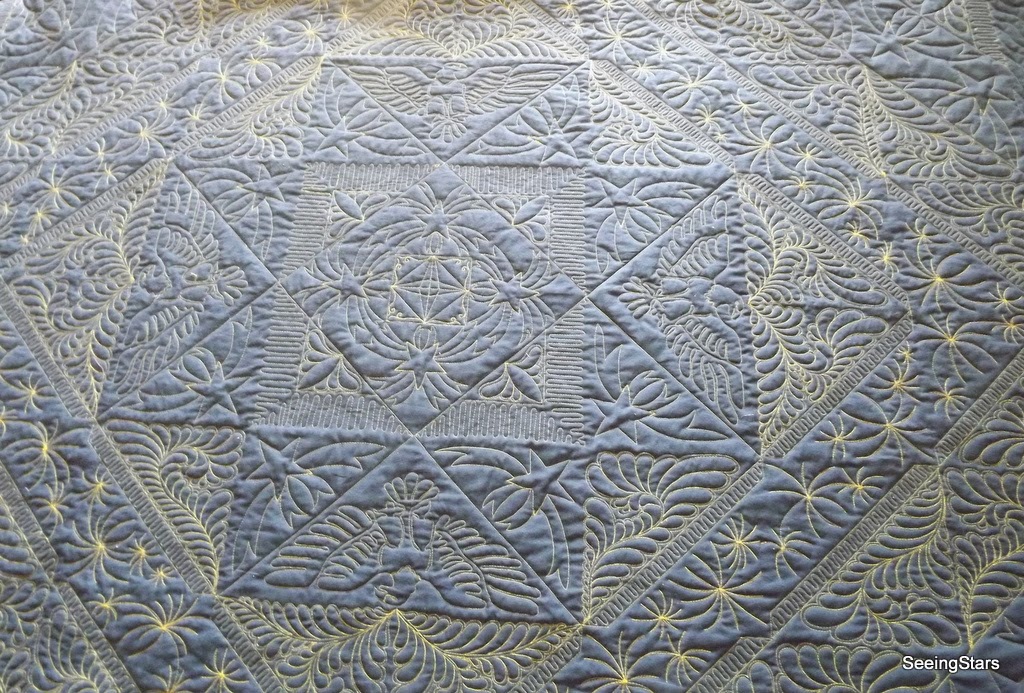
 You can see below the old feed dogs on the fabric and the new ones with both of the long pieces installed now.  It was tricky to remove because those older Italian flat head screws had really thin slots.  Mr. Seeing Stars stepped in to help me find a bit and a socket wrench to get in the small space under the harp to fix it.
There's a yahoo group for vintage Necchi machines with a service manual in pdf form in the Files section.  It's really helpful to have as a reference for any maintenance or repairs.


Although the light works, it's really dim.  I need an additional light source to sew with this machine.  I'm on the hunt for a new light bulb to see it I can find something a little brighter.  One of the spool pins is broken, but I can live with that for now.

I haven't tried to wind a bobbin yet.  I must admit that this older style method intimidates be a little bit.  There's an inner and outer part of the handwheel and you need to twist the inner while holding the outer still to set up a bobbin wind without engaging the needle up/down.  Since I have a Sidewinder, I've relied on that to get my bobbins wound.  The Necchi bobbins and Bernina bobbins are interchangeable.  That's really handy!  I also haven't adjusted the presser foot pressure, but I think it was set pretty high to make up for the broken feed dogs.

Overall, even though I've cleaned and cleaned, I think this machine needs more work with q-tips to get it looking a little better, inside and out.  After I cleaned it up and was so proud of my progress, I saw photos of other machines and realized there's still much more I should do to get it sparkling again.  But I've made terrific progress, even using a little car wax to shine it up. 

I'm looking forward to using the cams to add fancy stitches on my next quilt.  I share that work in progress soon.  I've played with quarter inch seams and found that I can use the feed dog slot on the right with the needle to the left and get a nice quarter inch seam.  Piecing several fabrics into a 4.5 inch block is working well for me, so I'm thrilled.  The stitch quality is terrific and I can appreciate the engineering on this machine so much more than many of the newer models.

One of my camera shy sewing buddies.  Taken before the field corn was cut.

This one came with all the accessories and the user's manual.  However, the user's manual (copyright 1955) is separating from the binding and the accessory box is broken (we'll blame this on the tornado).  I plan to take the manual to an office store to see what they recommend.  One problem is that a diagram is on one page, but the description of a function might be 2 pages later.  It's really distracting to keep flipping back and forth.  A user's manual makeover would be very helpful and not too difficult if I scan the original and just rework to align text and diagrams.

Mr. Seeing Stars is planning to help me with the cabinet again.  He cut a piece of wood which supports the weight of the machine at its front edge and I added hinges to hold it in place.  But that's not a good design, so we'll remove the hinges, fill in the holes and repaint, then go to Plan B.  I'll share more when we get that part finished.

Officially, this machine belongs to our younger teen.  However, since she'd rather disassemble the gears to build a robot, I'll keep possession of it until the time when it might be used for sewing.  I might even take it to a retreat at the end of the month.  Imagine my delight when I realized the ruler extension table for my Tin Lizzie fits beautifully on this machine when not in the cabinet.

More sewing buddies.  This trio comes by daily.  They don't run away when we're outside now talking and cooking on the grill, but their 4 friends are quite scared of us.

Tomorrow (or soon), I'll share another vintage find. These are my excuse for not having finished projects to share with you for the past month or so.

Enjoy your day!
- SeeingStars